Showing posts with label brads. Show all posts

Saturday, December 12, 2015

Paper Sweeties December 2015 Release!


Hello, all!  I am super excited to be back today to share my creations for the Paper Sweeties December 2015 release!  I get to share all FOUR of my creations with you today, so let's get started! 

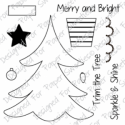
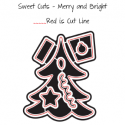
My first cards uses the *NEW* Merry and Bright stamp set and its coordinating Merry and Bright Sweet Cuts dies!  I stamped the tree onto pattered paper, then added some die cut garland and enamel shapes as ornaments.  I layered the die cut star with an enamel star to add more shine and tie in all the enamel going on here. ;)  The sentiment was stamped onto vellum, then die cut using the Be Happy Sweet Cuts dies.  A doily was used as a "snow bank".  Some patterned paper and ribbon finished this card off!


Next up, another card using the Merry and Bright stamps and Merry and Bright Sweet Cuts dies.  This time, I stamped the tree, watercolored it, added a shadow.  I stamped the garland and ornaments, colored the ornaments in, then added a die cut star and glitter for detail.  Some ribbon up top helps to make the card look more finished.


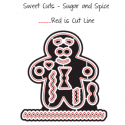
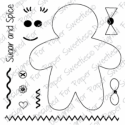
I then turned to the *NEW* Sugar and Spice stamps and Sugar and Spice Sweet Cuts dies.  I make a fun ginger-girl using the dies, added some Marshmallow sequins for a necklace and as added sparkle other places, and some googly eyes.  SO FUN!  I kept the colors girly and fun.  The little candy cane is also from the Paper Sweeties store.  This could be used for a holiday card OR for any occasion where a little girl is celebrated!


Finally, I chose to shy away from the upcoming holiday (kind of) and make another card using the Merry and Bright stamps and Merry and Bright Sweet Cuts dies.  This one was SUPER fun--I stamped the star image directly onto the card base in silver ink, then heat embossed them with some clear glittery powder.  I added some ribbon, a strip for the sentiment, and a punched and die cut embellie.  I was thinking this would be a fun birthday card, graduation card, OR if I added some red, how perfect for the 4th of July would this be?!  I LOVE the versatility of these new sets! :)


Thanks so much for stopping by today, friends!  I hope you hop over to the Paper Sweeties store and grab these goodies!  For more inspiration, make sure to check out what the other DT gals have made this month!

Here's your list~


And Here's What's New!

That's all for me today!  I'll be back in the New Year with more Paper Sweeties goodness for you!  Until then, HUGS and MERRY crafting, friends! :)

blog sig 2015-16 photo Signature_1.png

Project supplies:

Thursday, October 1, 2015

Inspired By Stamping: Tree of Seasons


Hi, friends!  It is time for another release for the Inspired By Stamping store, and Joanna has some GORGEOUS sets for you this time around!  Today we are featuring the Tree of Seasons set.  Take a peek at my card...


I decided to do a bunch of colored heat embossing using the stamps from the Tree of Seasons set.  I heat embossed the tree image first, then the bird and ribbon.  I decided to emboss them onto patterned paper to have my scene "ready made" for me. ;)  Some silver glitter paper was used for snow, and a sentiment from the Festive Greetings set was added over the top after it was stamped onto vellum.  Some brads and a single red rhinestone were all that was needed to finish off the focal panel because of all the glittery goodness from the embossing.


This card is very mail friendly because I kept it pretty flat and without too many embellishments.  I really like the way it turned out--the heat embossing didn't fail me this time! ;)  I'd love to hear what you think in the comments below! :)


Thank you so much for stopping by, friends!  I'll be back tomorrow with another card using *NEW* stamps from Inspired By Stamping!  For more inspiration, make sure to head over to Joanna's blog for a list of those who are crafting today!  Until tomorrow, HUGS and happy stamping, friends! :)

blog sig 2015-16 photo Signature_1.png

Project supplies:
 

Wednesday, July 29, 2015

Inspired By Stamping July 2015 Release: Grapes


Hi, friends!  I'm super excited to share a card with you today using some of the *NEWEST* stamps for the July 2015 Inspired By Stamping release!!!  Today, we are sharing creations using our *NEW* Sun-Ripened Grapes stamp set.  Take a peek at my card...


I decided to create an easel card for today.  I stamped the image from the Sun-Ripened Grapes stamp set onto kraft cardstock, then colored it in with a blender pen and white craft ink.  I then used colored pencils to add the color.


The large flower that I added to the top panel was something I made myself.  I have a video on how to create it HERE ON MY YOUTUBE CHANNEL.


The sentiment was stamped onto a chalkboard label and then heat embossed into gold.  It's actually 2 different sentiments from the Sun-Ripened Grapes stamp set.  I LOVE using acrylic stamps--it makes things like that easy peasy!!!


I am SO happy with this easel card!  Purple is my absolute favorite color, so this card was a joy to create!  I am seriously loving the fabulous font used in the sentiments in the Sun-Ripened Grapes set, too!  Same as in the Poppies set--IT IS AWESOME!  What do you think?  I'd love to hear your opinion in the comments below!


I'm entering this card with these fabulous challenges~


(I chose Kraft, Embossing, Sparkle)


That's all for me today, friends!  I'll be back tomorrow with another release creation using *NEW* stamps from Inspired By Stamping!  Also, I hope that you come and join in our monthly challenge for YOUR chance to win some stamps from Inspired By Stamping!  Until next time, HUGS and happy stamping to you all! :)


blog sig 2015-16 photo Signature_1.png

Project supplies/Previously Released Stamps:


Thursday, March 19, 2015

Inspired By Stamping: Easter Gifts


Hello again, dear friends!  I am SO excited to share some Easter gifts I made to send to my nieces out in Utah.  I used some gorgeous products from the Inspired By Stamping online store to make some pretty hair bows and packaging!  Come and see...


Aren't they beautiful?!  I had a hard time deciding how to photograph them so forgive me if I share a few more views of the final product throughout the post!


I started by taking a Gluber (double sided tape circle--but it's VERY strong adhesive) and adding the ribbon in a ruffled manner.  The ribbons I used are from the Purple Ribbon Collection (yellow), the Blue Ribbon Collection, and the Pinks Ribbon Collection.  

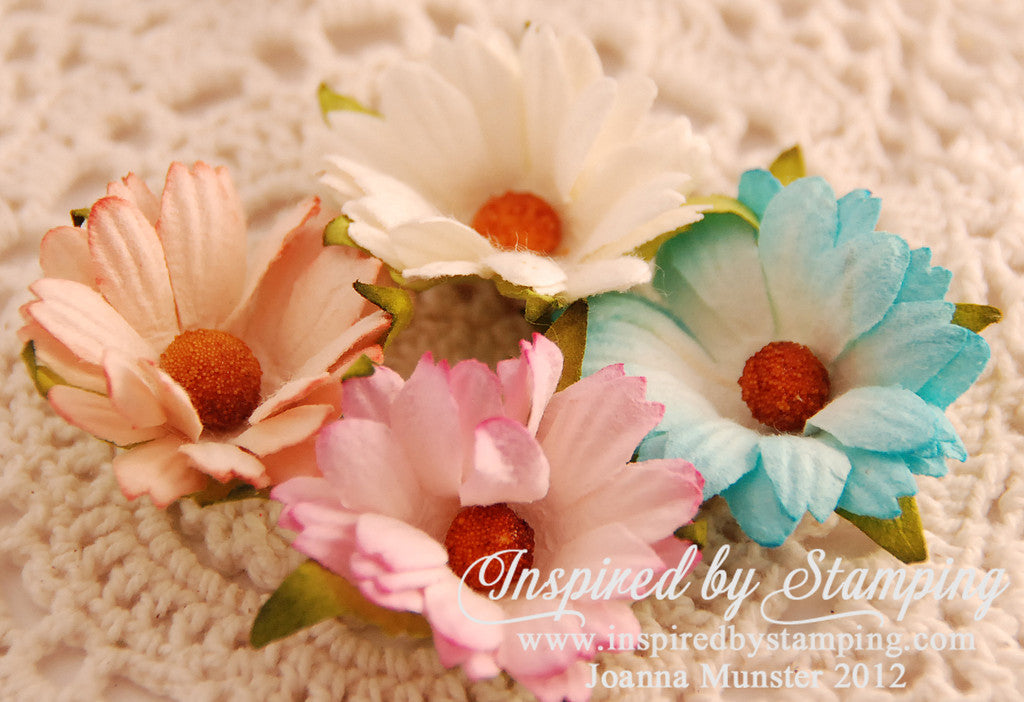
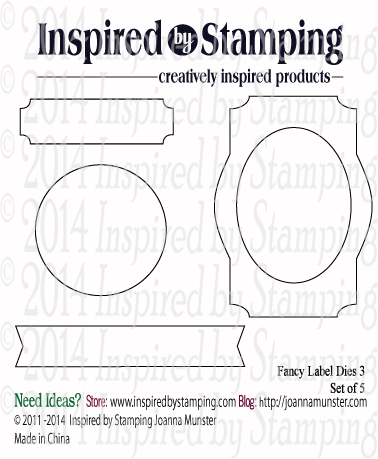
After the ribbon was finished, I added matching flowers to the centers as well as brads from the Vintage Floral Kit.  The flowers used are Off White Flowers (yellow), Dark Pink Flowers, and Blue 2 Tone Flowers.  These were all added with hot glue.  Finally, these pieces were glued to hair clips with pieces of felt that I cut out using the circle from the  Fancy Labels 3 dies.  I forgot to take that photo, I'm sorry!


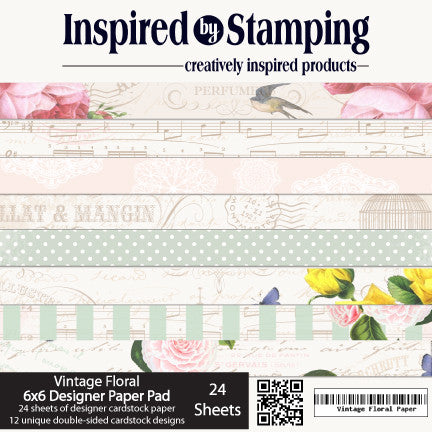
After the bows were made, I decided to create some fun packaging to put them on.  I took some kraft cardstock, added a strip of paper from the Vintage Floral Paper Pad, and created slits for the clips to hold onto.  This was done with an craft knife.


The top of the packaging has a sentiment that was stamped and embossed in white onto pink cardstock.  The sentiment is from the Petite Banners stamp set.  They were die cut using the Fancy Labels 3 dies.


I think I'm going to wrap these up in cellophane bags and tie bows with coordinating ribbon.  I sure hope that my nieces like them as much as I adored making them!  What do you think?  I would love to hear in the comments below!

Thanks so much for stopping by today!  I love when you do!  I hope that you hop over to the Inspired By Stamping online store to grab the goodies to make these super easy handmade gifts and that you join our monthly challenge, too!  Until next time, HUGS and happy stamping, friends! :)

 photo Sigcopy.png


Monday, February 23, 2015

Inspired By Stamping: Baby Frame


Hello, friends!  Looking for a gift idea for your next baby shower?  Look no further! :)  I'm here with just such the gift using beautiful products from the Inspired By Stamping store.  I decided to alter a frame for baby's picture...come and see...


I started by painting the wood frame white and then adding paper from the Vintage Floral Paper Pad.  I Mod Podged the whole thing afterwards to keep the paper in place.  To the top, I added a bow made from ribbon in the Pinks Ribbon Collection and a white pearl brad from the Vintage Floral Kit.


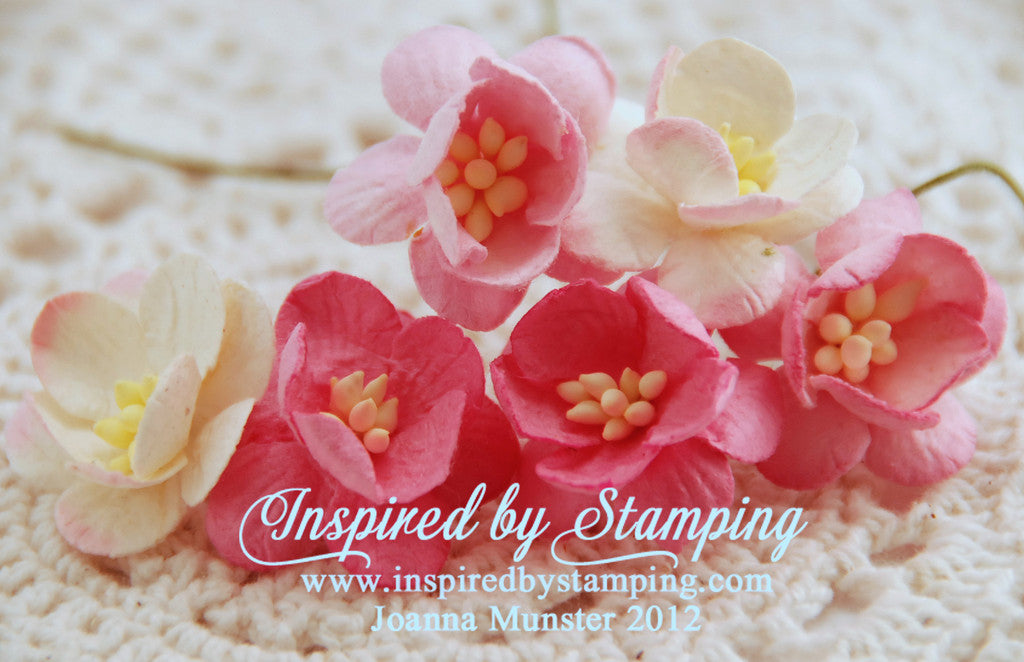
Next, I added LOTS of fun flowers to the bottom corner.  The flowers used include Cherry Blossoms, a Daisy, Medium Flowers, and Mixed Small Flowers.  These were all hot glued in place and then another bow made from ribbon from the Pinks Ribbon Collection and another pearl brad from the Vintage Floral Kit was nestled into the furthest part of the corner.


Lastly, I added a sentiment.  This one is a hybrid sentiment that I made using stamps from the Big Hello stamp set and the Big Congrats stamp set.  I stamped it onto more Vintage Floral Paper Pad paper and die cut it out with the Fancy Labels 3 die cuts.


I very much adore the final product!  I think this will be the perfect gift for a new baby girl!  What do you think?  I'd love for you to tell me in a comment below!  :)


That's all for me today!  I'll be back soon with more crafty creations, so stay tuned!  If you have some time, hop over to the Inspired By Stamping store to grab these goodies and play along with our monthly challenge, too!  HUGS and happy stamping to you all! :)