Showing posts with label lace. Show all posts

Saturday, August 15, 2020

Christmas 24: Fancy Folds

Hello, friends! I am SO excited to be sharing another card created for  Christmas 24If you follow along, you will have 24 cards made before the Christmas holiday each year! Challenges are biweekly on the 1st and 15th of the month, and this time's challenge is FANCY FOLDS

Take a peek at my creation...

I am so pleased with how it turned out! I used beautiful digital products from Taylormadecards4u to make this easel card. What do you think? I would love to hear your thoughts in the comments below! 

Thank you so much for stopping by today, friends! Please come join us at Christmas 24, and don't forget to leave some love with the other members of this fabulous team! Until next time, HUGS and happy stamping!

Saturday, July 4, 2020

Crafter's Castle: Simple Vintage Thank You Card

Hi, friends! It's time for another challenge at Crafter's Castle! As always, we are sponsored by Taylormadecards4u! This month, we are using the beautiful Under the Boardwalk digital kit.

Here's my creation~

Thanks so much for stopping by today, friends! For information on how I created this card, please click HERE to view my process video! I hope you take some time to join the Crafter's Castle challenge, and take a peek at the other gals' videos, too! Until next time, HUGS and happy crafting, friends!


Friday, January 8, 2016

Sweetheart Fairy


Hello again, friends!  I have been trying to make some changes in my life, and one of those changes was to spend a bit of time over my holiday break from school to craft "just because".  Well, I took a bit of time this afternoon to do just that!  I've made a sweet Valentine card to share with you, using a darling image from A Day For Daisies.  Come and see...


I colored this darling image, Love Angel, with Spectrum Noir markers, then gave her some sparkle with Stickles.  She is SO sweet, don't you think?!


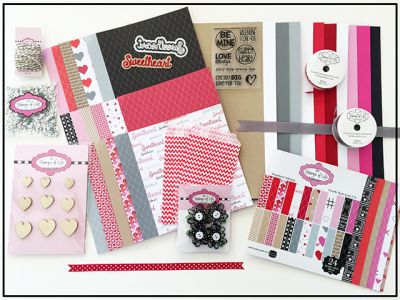
The sentiment is a stamp from a monthly card kit by The Stamps of Life.  I thought the font and circular shape would go very well with my rounded corner theme.  I surrounded it with some punched leaves, also blinged up with some Stickles.


All of my elements were layered onto a card base that was gussied up with some pink polka dot patterned paper from the Egg-cellent Easter pack from MHKDesigns, as well as a few different patterns from my stash.  I really adore this fun card!  I hope you like it, too!  Please do leave me a comment below to let me know what you think! :)


I'd like to enter my Sweetheart Fairy into these fabulous challenges~


(This is a bridal shower card for my future SIL.)


(I did the last column.)


Thank you so much for stopping by today, friends!  I hope you take some time to join in the fun with these fabulous challenges, start a new goal, or just craft for a bit!  I'll be back soon with more paper crafted creations for you--until then, HUGS and happy stamping, friends! :)

blog sig 2015-16 photo Signature_1.png

Project supplies:
Love Angel      Click to view full size image 

Saturday, December 12, 2015

Paper Sweeties December 2015 Release!


Hello, all!  I am super excited to be back today to share my creations for the Paper Sweeties December 2015 release!  I get to share all FOUR of my creations with you today, so let's get started! 

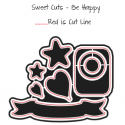
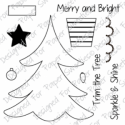
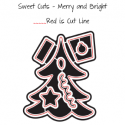
My first cards uses the *NEW* Merry and Bright stamp set and its coordinating Merry and Bright Sweet Cuts dies!  I stamped the tree onto pattered paper, then added some die cut garland and enamel shapes as ornaments.  I layered the die cut star with an enamel star to add more shine and tie in all the enamel going on here. ;)  The sentiment was stamped onto vellum, then die cut using the Be Happy Sweet Cuts dies.  A doily was used as a "snow bank".  Some patterned paper and ribbon finished this card off!


Next up, another card using the Merry and Bright stamps and Merry and Bright Sweet Cuts dies.  This time, I stamped the tree, watercolored it, added a shadow.  I stamped the garland and ornaments, colored the ornaments in, then added a die cut star and glitter for detail.  Some ribbon up top helps to make the card look more finished.


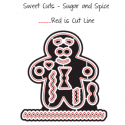
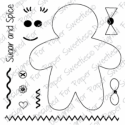
I then turned to the *NEW* Sugar and Spice stamps and Sugar and Spice Sweet Cuts dies.  I make a fun ginger-girl using the dies, added some Marshmallow sequins for a necklace and as added sparkle other places, and some googly eyes.  SO FUN!  I kept the colors girly and fun.  The little candy cane is also from the Paper Sweeties store.  This could be used for a holiday card OR for any occasion where a little girl is celebrated!


Finally, I chose to shy away from the upcoming holiday (kind of) and make another card using the Merry and Bright stamps and Merry and Bright Sweet Cuts dies.  This one was SUPER fun--I stamped the star image directly onto the card base in silver ink, then heat embossed them with some clear glittery powder.  I added some ribbon, a strip for the sentiment, and a punched and die cut embellie.  I was thinking this would be a fun birthday card, graduation card, OR if I added some red, how perfect for the 4th of July would this be?!  I LOVE the versatility of these new sets! :)


Thanks so much for stopping by today, friends!  I hope you hop over to the Paper Sweeties store and grab these goodies!  For more inspiration, make sure to check out what the other DT gals have made this month!

Here's your list~


And Here's What's New!

That's all for me today!  I'll be back in the New Year with more Paper Sweeties goodness for you!  Until then, HUGS and MERRY crafting, friends! :)

blog sig 2015-16 photo Signature_1.png

Project supplies:

Thursday, March 26, 2015

Jane Austen Inspired


Hello, friends!  I hope your week is going great and that you've taken some time to craft! ;)  I'm here today with a card for the C.R.A.F.T challenge--INSPIRED BY A MOVIE.  Great Impressions is sponsoring this time, so hop over for a chance to win some free stamps!  Come and take a peek at my card...


I was inspired by the movie Emma, based on the book by Jane Austen.  Technically, I believe my card could be inspired by any Jane Austen novel set as a movie, but I chose Emma. ;)  I started by stamping and head embossing the main image, H147 Romantic Collage, onto some distressed looking patterned paper.  I then used a water color pen to watercolor the image using pink, green, blue, and brown inks.  This was fussy cut before it was added to the card.


Next, I created a card base that included patterned paper, a doily, some pearls and rhinestones, and the sentiment (E859 Forever Yours) head embossed directly onto the base.  A couple of pearls were added behind the image.  A piece of lace was added to the heart shaped pin to fill in more of the blank space and add texture.


After it was all put together, I questioned my decision to mat the patterned paper with brown paper.  I'm thinking now black would have been better, but I don't know.  All in all, I think this card came together rather well!  What do you think?  I'd love to hear your opinion in the comments below!


That's all for me today!  I hope you hop over and play along with this week's C.R.A.F.T. challenge for a chance to win some goodies from Great Impressions!  Thank you SO much for stopping by today--I very much appreciate your visits and kind words.  Until next time, HUGS and happy stamping, friends! :)

 photo Sigcopy.png

Sunday, February 1, 2015

Great Impressions: Love, Love, Love!


Hello, blogging friends!  It's time for a new monthly challenge at Great Impressions!  This month, we're looking for creations that fit this theme...


Yep, absolutely ANYTHING that has to do with LOVE!  It could be a Valentine, or a wedding card, or a thinking of you card, or an anniversary card, or a birthday card, ANY card, really, because don't we always make each creation with LOVE?! :)  I went the way of the Valentine, but this image/sentiment combo could also be used for Easter!  Take a peek...


I started by stamping and heat embossing the image, E564 Bunny Love, three times on three different papers--the main panel, a piece of white cardstock, and a piece of coordinating patterned paper.  I then paper pieced the image and added some shine to the hearts and pink to the bunny with a Spectrum Noir marker.  I then added a few rhinestones around the image for some more shine and sparkle!


Next, I stamped and heat embossed the sentiment, C343 Somebunny Loves You, on the same panel that the image is on.  I like this black embossing powder with a bit of shine to it--I got it ages ago at a garage sale for a very good price!


I then added some lace trim and ribbon to divide the sentiment from the image.  This completed the main focal panel.


Next, I added some patterned paper, doilies, and sequin trim to a card base so that it would coordinate with the main focal panel.  I used the coordinating patterned paper that I used with the paper pieced image so the design would be cohesive.


The last step was to add the focal panel to the card base!  I decided to add it with dimensional foam to add more depth and interest.  Voila!  A totally darling Valentine!  I love it!  What do you think?  I'd love it if you left me a comment letting me know!

That's all for now, friends!  THANK YOU for stopping by today to take a peek at my card!  I hope you come and join in the fun with our monthly challenge and that you leave some love with the other gals on the DT for their fabulous creations using products from the Great Impressions store as well!  If you ever use Great Impressions stamps, make sure you link up with our Customer Gallery, too!  HUGS and happy stamping to you all! :)

 photo Sigcopy.png

Saturday, January 31, 2015

Inspired By Stamping: Designer Spotlight!


Hello, crafty friends and followers!  Thanks for stopping by today!  I'm excited to share that today I am the weekend spotlight designer for Inspired By Stamping! :)  These spotlights come directly to your inbox if you've signed up for the newsletter, so make sure you do that!  I've got a shabby card to share with you using LOTS of fun products from the Inspired By Stamping store, come and see...


I started this card by stamping the banner from A Lovely Birthday onto gray card.  I then heat embossed a sentiment from the Cute Circles stamp set in a light pink color.


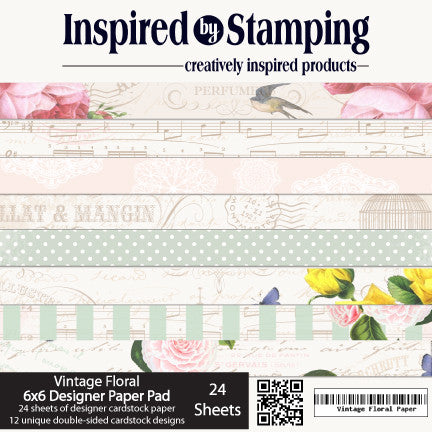
This was added to the card base that was made using paper from the Vintage Floral Paper Pad, gray card, and some added stamping of the "LOVE" postage stamp image from A Lovely Birthday.  The patterned paper was distressed before adding it to the gray card for added texture.


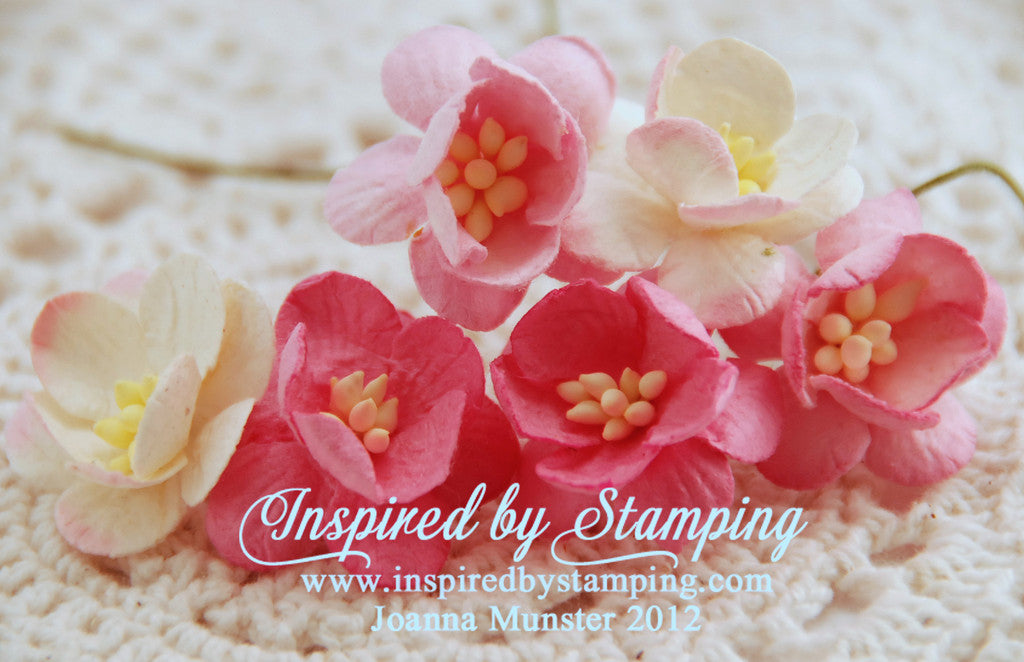
For embellishments, I added some Cherry Blossoms, buttons, pearls, liquid pearl dots, lace trim, and sequin trim.  I also added some punched leaves and bright pink seam binding for added texture and to make the design more cohesive.


The end result is so much prettier than I had in my mind as I began this card!  I am very happy with it--what are your thoughts about this creation?  I hope you let me know in the comments!

Thanks for stopping by today to look at my creation!  I hope you like it and that it's inspired you to create something of your own today!  If you do, please join in the fun with these fabulous challenge, too!  Until next time, HUGS and happy stamping to you all! :)

Cute Circles stamp set

Cherry Blossoms

Vintage Floral Paper Pad