Thursday, January 29, 2015

You Quack Me Up!


Hi, friends, and happy Thursday! :) I'm here to share a card I made that I hope you think is as cute as I do!  In fact, it's for the Cute Card Thursday challenge--Stampin' Mad!  They want to see some sort of stamped image on your creation. :)  Take a gander... (no pun intended, YET!)


Since Great Impressions is sponsoring this challenge, I thought it was only fitting that I showcased some of the stamps that one lucky participant could win!  I started this card by stamping the image, E856 Hello Louie, onto some cardstock and then I colored him in with Spectrum Noir markers.  Isn't he the most darling duck ever?!  


I decided to go with a punny sentiment, so I chose B216 Quack Me Up, and I stamped it and punched it out.  I layered it with some gray card and added it to the image panel.  Some red gingham ribbon was a divider between the image and sentiment.


I then decided to add some punched patterned paper banners to the top left hand corner of the image panel for just a little bit more interest.  A few enamel dots were added to splash a bit more red onto the card.


I then layered the main focal panel onto the card base.  This base had been prepped with some gray card, fun spotted patterned paper, and a doily.  The perfect backdrop for this little guy!


In addition to linking up with Cute Card Thursday, I'm also entering this into the Cards & More "Animals" challenge and the 4 Crafty Chicks "Anything Goes" challenge!  I hope you'll come and play along with all these fun challenges!

That's all for me today!  I hope you find some time to craft today!  If you do, please join the fun with us at Cute Card Thursday!  If you use Great Impressions images, feel free to link them up in our Customer Gallery and for our current challenge if your card is LOVE themed!  HUGS and happy stamping to you all!

 photo Sigcopy.png

Wednesday, January 28, 2015

Watercolor Gradation


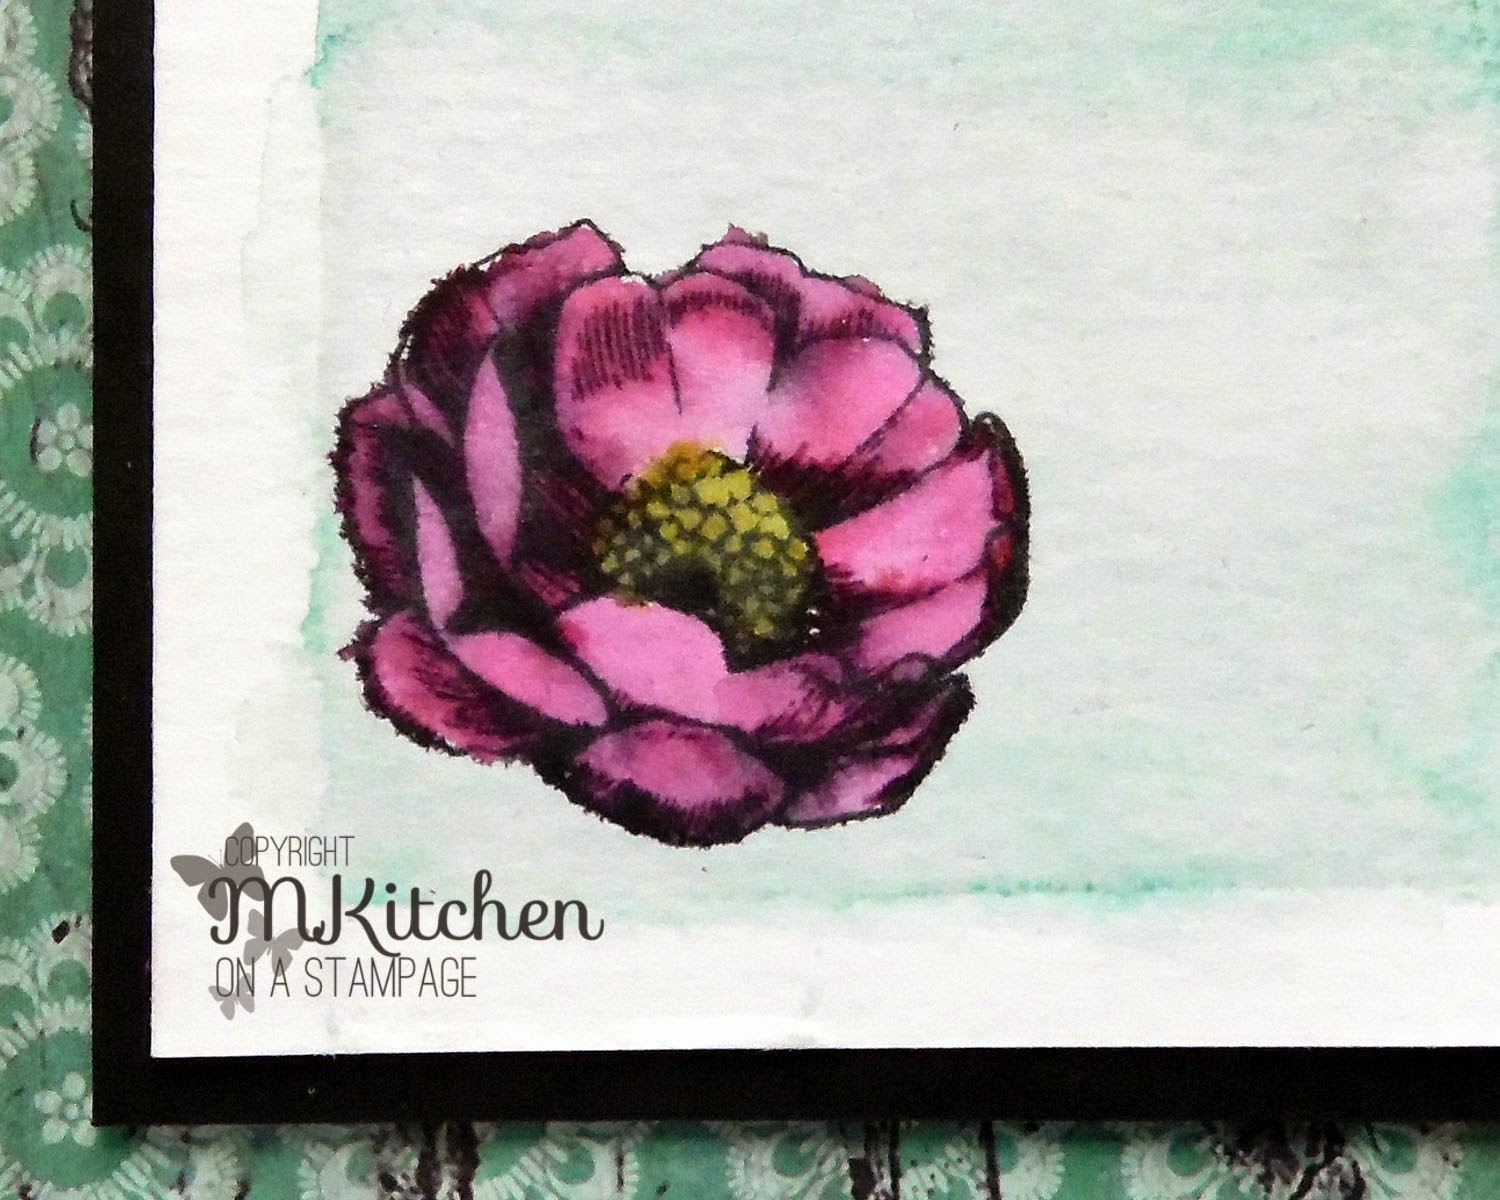
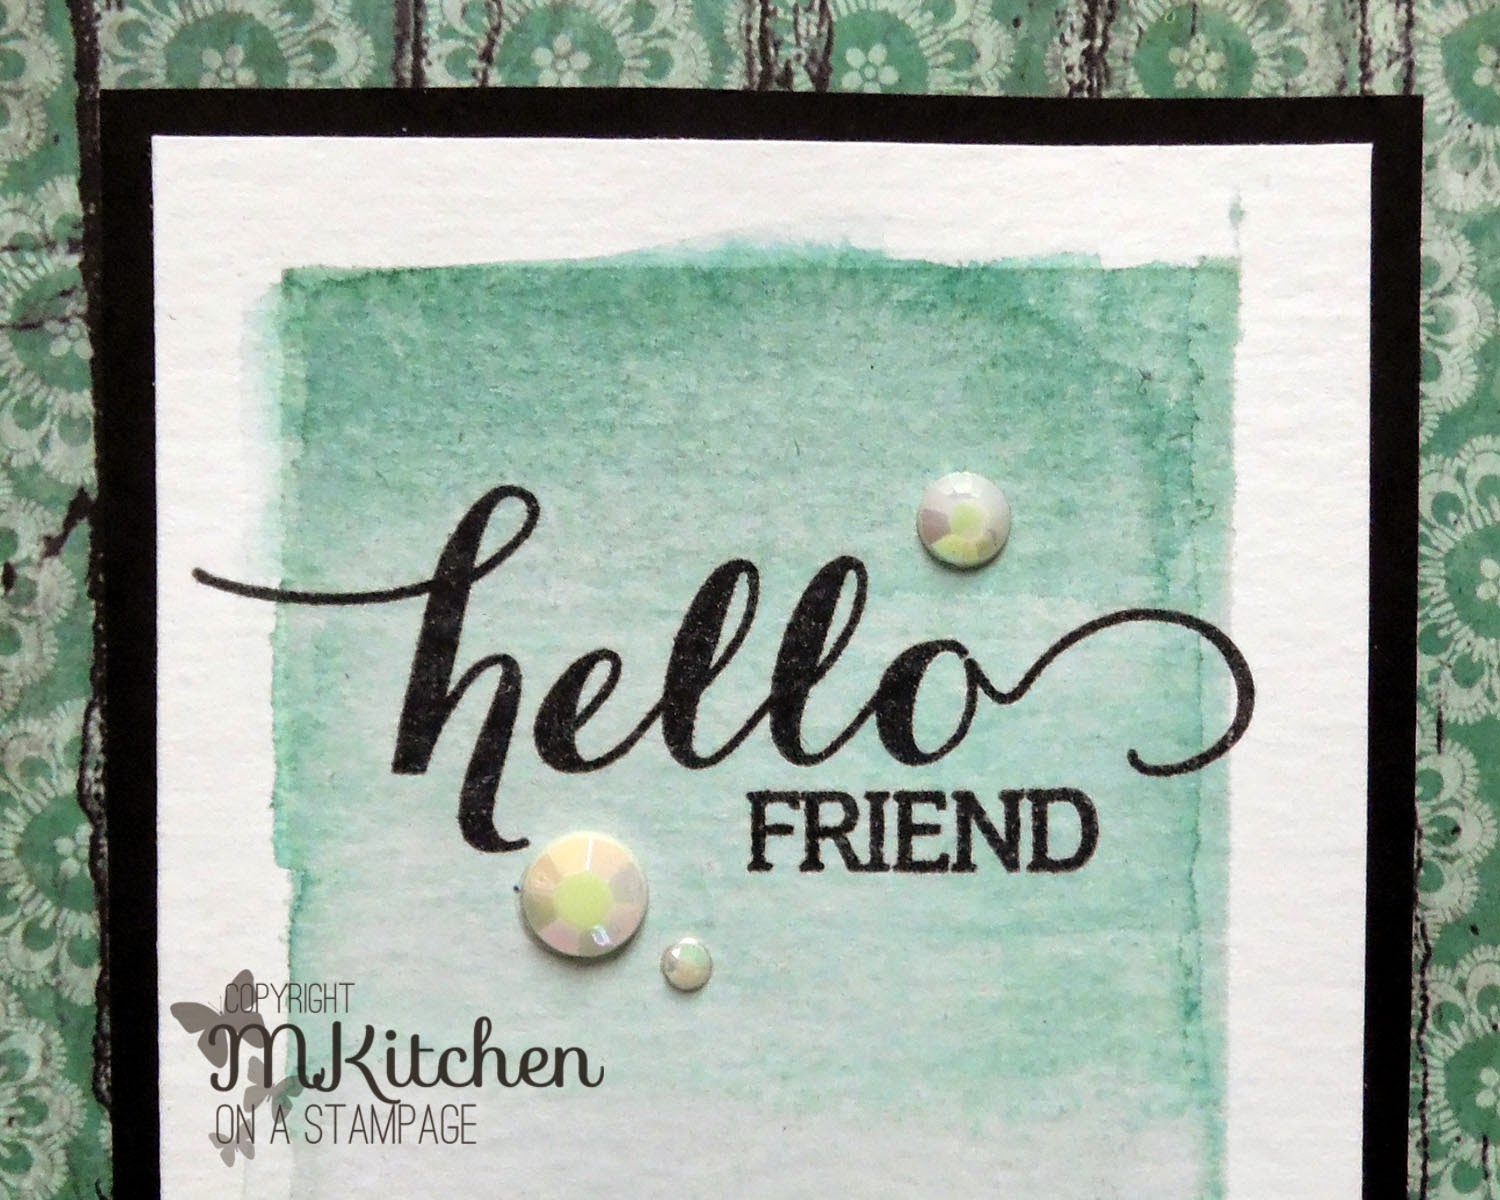
Hi, friends!  Happy Wednesday! :)  I'm here today with a card using a new to me technique that I just barely learned this morning and HAD to try.  Ever have that happen?!  I do every now and again.  This one is called Watercolor Gradation and creates a fun ombre effect with watercoloring!  Take a peek at my card...


I started by creating the watercolored background using Ranger watercolor paper and Evergreen Bough Distress Ink.  It took a few minutes to get it right, but I finally found my happy medium. :)  I had taped the paper to watercolor it, but some of the ink escaped and I rather like the effect it made.


After the watercolor paper had dried, I stamped a flower from the Garden Seed Packets stamp set from Inspired By Stamping using Memento Tuxedo Black ink in the lower left hand corner and watercolored it with Dried Marigold and Picked Raspberry Distress Inks.


Lastly, I stamped a sentiment from the Big Hello stamp set from Inspired By Stamping with Memento Tuxedo Black ink and then added a few rhinestones from Want 2 Scrap to add shine and texture.


The focal panel was then matted on to some Basic Black cardstock from Stampin' Up! and added to a card base made of Georgia Pacific white cardstock and Bramble Rose patterned paper from My Mind's Eye.  I really love the final product--it turned out better than I thought it would for a first go around!  What do you think?  I'd love for you to leave me a comment below to tell me!


I'm entering this card into these fabulous challenges~


(NEW technique again!)


That's all for me for now!  Thank you so much for stopping by to take a peek at my creation.  I hope you come and play along with these very fabulous challenges today!  I'll be back SOON with more crafty pursuits and I hope you come back then!  Until that time, HUGS and happy stamping, friends! :)

 photo Sigcopy.png

Monday, January 26, 2015

Great Impressions: Sweet Sundae


Hi, all!  Happy Monday!  I hope your weekend was good and that you're ready for a new week to start! :)  I've got another card today that uses som super fun stamps from the Great Impressions store.  Come and take a look...


The first thing I did to make this card was to stamp the image, E539 Sundae, and colored it in with Spectrum Noir markers.  I then added some Stickles for added shine.  This was fussy cut and added to a focal panel.


The sentiment is only part of B186 You're So Sweet.  I stamped just the "sweet" part and punched it out.  This was layered onto another oval and then added to the card with a button and silver elastic cording bow tied to yellow crocheted trim.


The focal panel was then added to a card base layered with matching patterned paper, glitter paper, a doily, and some more trims on the top.


I think the final card looks pretty sweet. :)  I do love a good pun, so this is going to be a Valentine card that is sent out to someone...sweet! ;)


That's all for me today!  I'll be back next Monday with another creation using stamps from the Great Impressions store.  I hope you hop over to the Great Impressions blog for more inspiration and to join in our monthly challenge.  Until next week, HUGS and happy stamping! :)

 photo Sigcopy.png

Sunday, January 25, 2015

Inspired By Stamping: With Love


Happy Sunday, friends!  I'm here today with a card using some fun stamps from the Inspired By Stamping store.  It's another card that could be used for any occasion, but also for Valentine's Day since it's coming up!  Take a peek...


I started by stamping and heat embossing the circle frame and sentiment from the Cute Circles stamp set and then punching it out.  I layered it onto a punched scallop circle and embellished it with liquid pearls and a punched flower, leaves, and enamel dot.


This was then added with dimensional foam onto a card base that was layered with a punched border, enamel dots, and some ribbon atop raspberry glitter paper.


This panel was then added with dimensional foam onto a card base that included some fun patterned paper mimicking the colors used on the main panel.  I think these bold colors really pop with all the black embellishments used!


That's all for me today!  Please take some time to relax and craft if you can!  Until next time, HUGS and happy stamping to you all! :)

Friday, January 23, 2015

CASE-ing Christmas: Challenge #4


Hi, friends!  Ready for another weekly challenge for CASE-ing Christmas?  I hope so--we've got a gorgeous card for you to CASE this week!  It's a snowy, purple creation by DT member Rocky this week...here it is...


Purple is my absolute FAVORITE, so I knew that I would definitely incorporate that into my CASE design.  I also like the snowflakes and had a stamp that hadn't been used yet, so snowflakes it was, too.  Here's what I came up with...


I started this card with the base.  I took some light purple card, dry embossed it with a Sizzix folder, dabbed it with some Versamark ink, then heat embossed it with silver powder from Stampendous!.  The result is so pretty in real life!  This light purple panel was then layered onto some darker purple card.


I then added some white seam binding ribbon and a white seam binding bow to the base.  The sentiment, by Close to My Heart, was heat embossed with the same supplies as mentioned above and then punched out with a small oval, layered onto a darker purple oval, and attached to the seam binding bow with a large crystal button and silver elastic cording from Stampin' Up!.  


Finally, I turned to my image panel.  This snowflake image is from Great Impressions.  It was heat embossed onto the darker purple card with silver powder from Stampendous! and then the panel was layered onto white card.  The center of the snowflake was embellished with a charm from Stampin' Up!.  The shine is so awesome!


After adding this panel, the card was complete.  I so adore this card.  I will definitely have a hard time parting with this one, but at least I'll have my photos and this post to console myself. ;)  What do YOU think of my creation?  Leave a comment and let me know!


That's all for me today!  I'll be back next week with another card for CASE-ing Christmas, and I hope you hop on over and join in our current challenge!  I cannot wait to see what you will create for us!  HUGS and MERRY stamping to you all!

 photo Sigcopy.png

Inspired By Stamping: New Spring Bouquet Set


Hello again, friends!  Well, it's the last day of release week for the Inspired By Stamping store and I have a CAS one layer card that I made today to now only show off one of the new sets, Spring Bouquet, but to also share with you part of our monthly challenge we have going on this month!  Here it is...


I started this card by stamping the sentiments from the new Spring Bouquet set using gray and black inks.  I then added a bit of bling carefully placed to create some movement.


That was literally it!  It's a one layer wonder and it fits in with this month's challenges at Inspired By Stamping, too...check them out!  I hope you play along with them!


What do you think?  Does my card hit the mark for these challenges?  I'd love to hear what you think about the final product in a comment below--I do so appreciate all your kind words! :)


That's all for me today!  I hope you take a chance to go and grab this newest release from the store and, if you spend $50, you will get a free stamp set!  Also, come and join in the fun of our current challenge, too!  If you use products from the Inspired By Stamping store, link them up in the Customer Gallery as well!  HUGS and happy stamping to you all!

 photo Sigcopy.png

Thursday, January 22, 2015

Stamp Etching


Hello, all!  Have you ever come across a fun technique that made you stop and HAVE to try it?  This happens to me a lot, I actually have an entire Pinterest board filled with techniques to try called...Techniques to Try.  Wow.  That really sounded redundantly redundant.  ANYWAY, I came across one today called Stamp Etching that I just had to try right away.  So, I did!  Take a peek at the finished card...


This is a very easy technique to accomplish, it just takes a bit of tine. :)  The main thing you need to remember is to choose a line image when doing this technique.  I chose the large water lily image from the Flower of the Month: Water Lily stamp set from Inspired By Stamping.  I stamped the image onto white card stock in Memento Tuxedo Black ink.  I then used a fine point Sharpie to create the "etching".  If you'd like a tutorial on how to do the "etching", you can find one HERE.  I then used colored pencils to color the image in very lightly.  I used a darker shade of green, brown, and pink to highlight the "etching" and I LOVE the way it turned out!


After I finished the image, I matted it onto black cardstock and then had to think about what to do about a sentiment.  I decided to stamp and emboss the hello image from the NEW Big Hello stamp set from Inspired By Stamping onto vellum using soft lilac embossing powder.  This set is FREE with each $50 purchase this month! :)  Instead of leaving it on a strip of vellum, I decided to fussy cut around the sentiment.  It covered less of the image that way. :)  A few shiny white rhinestones help to highlight it more.


This panel was then added onto a kraft card base that was prepped with some glitter tape as an anchor and rounded edges.  I am very happy with the final result!  Not bad for a first try, eh?  What do you think?  I would love for you to let me know by leaving me a comment below!


That's all for me right now!  I'll be back SOON with more crafty creations!  THANK YOU for stopping by today--I love having you here!  HUGS and happy stamping to you all! :)

 photo Sigcopy.png