

Hi, all! I'm here with a super fun and easy holiday crafts idea for you. I found the original idea HERE, but I'll do a little dialog about how I made these here, too. Also, these look not clear, but I promise I used clear soap. ;) It just doesn't photograph as nicely when the gold lid is reflecting into it! Here's what you'll need to create this project: a mason jar, clear hand soap with a soap pump, super glue, Christmas or other figurines, a hammer, a screwdriver, tongs, and glitter. Come take a gander at the completed Snow Globe Soap Dispenser! I hope you choose to make one after you read my post!

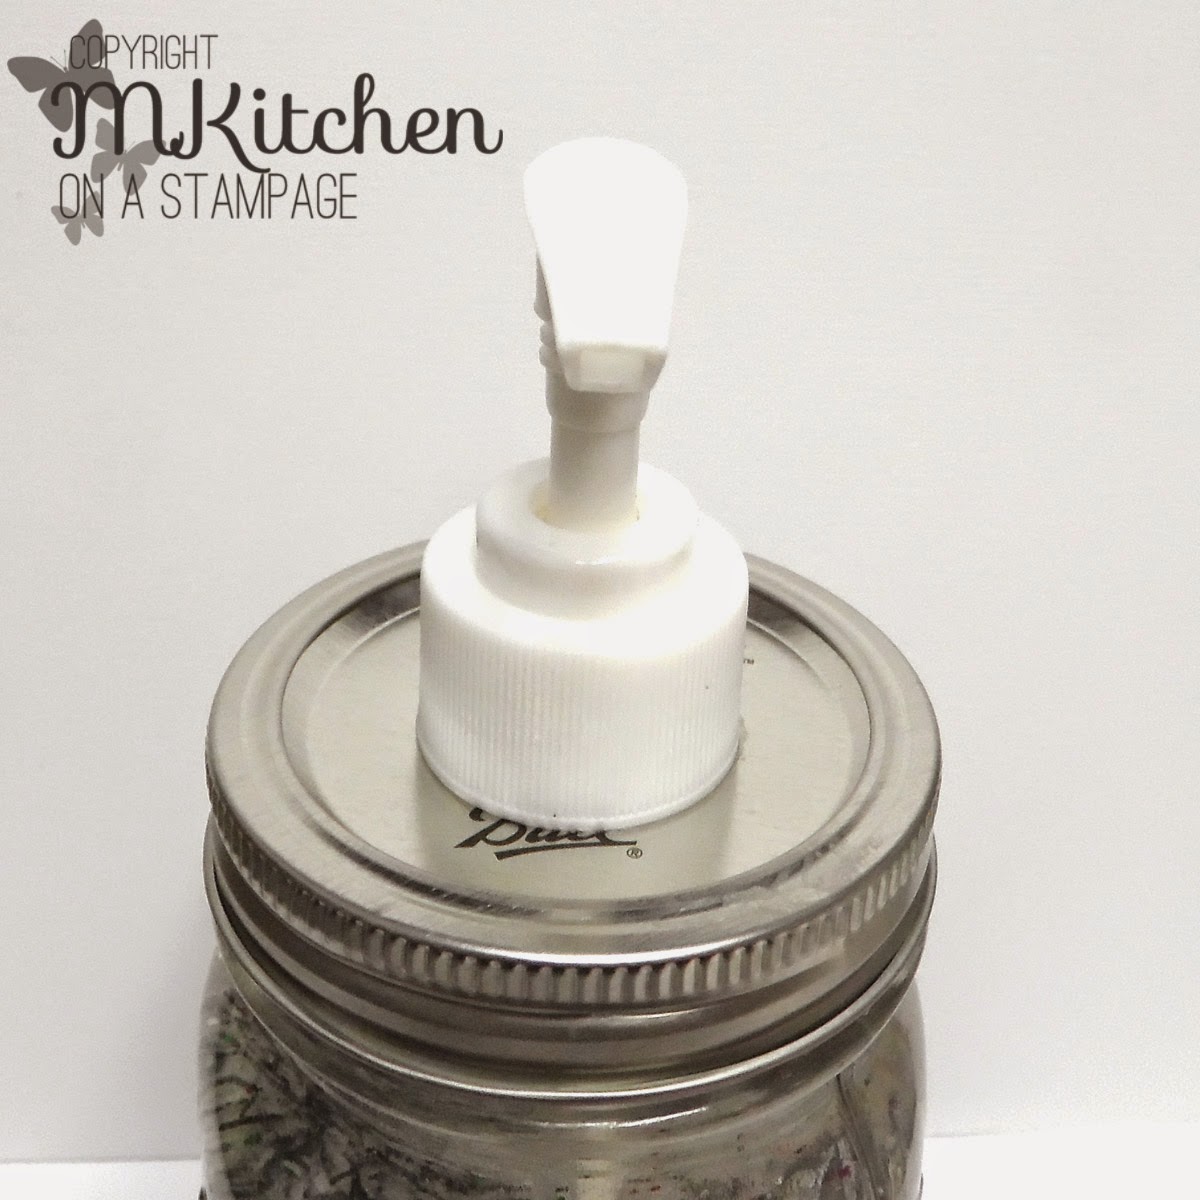
How fun and festive is that?! And they are really easy to make. At first I was thinking that it would take a long time to finish this project, but it took about 10 minutes. And 7 of that is stirring. I'll explain. The first thing you need to do is take a hammer and screwdriver and create a hole in the top of the jar for the soap pump to go through. This might mean hammering more than one hole into the lid. This is a two person job--one should hold the jar while the other hammers. The hole might not look pretty, but who cares?! It's gonna be covered up...if it wiggles, you can add super glue at the very end to keep it in place, but usually it's on there nicely!
After you get the hole made, lay the lid aside. Take the figures, the super glue and the tongs, and prepare yourself. This part may be a bit frustrating, but the good thing is that it will pass. ;) You're gonna put super glue on the bottom of the figures and put them into the jar. Use the tongs is necessary. If the figures don't stay put because the bottom of the jar isn't flat, that's ok. Just set them in there standing up. The super glue with bond with the glass--I promise. See, mine stayed! ;)


Ok, so now put the jar aside. I promise. One day, all these parts will make a whole, but not quite yet. Take your soap, open it up. But A LITTLE BIT of glitter into the top. I'm talking maybe a teaspoon. Then, take the pump and stir the glitter into the soap. DO NOT SHAKE. If you shake it, it will never clear up and will stay cloudy. If you stir it (it takes a bit...like 5-7 minutes), it will eventually get evenly mixed in. YES, it will start out looking like nothing is happening. Just keep at it. It's therapeutic, I promise! And when you are done, and pour it into the jar and put the lid on, here's what you'll get...
Like I said before, if the pump is too wiggly you can now attach it with super glue. A note on the glue, too--it MUST be super glue. Other glues just won't work well. So, that's it! Also, I used more than one color of glitter, but you could use one or a rainbow of colors--it all depends on you! One last thing--if the glitter starts to settle too much, just give it a good stir and it will redistribute! :)
Thanks for stopping by to take a peek at my creation! I hope that you try this fun project--it's a great fun and affordable handmade gift to give this season! I also hope you join the fun in with the challenges I'm linking with. You can find the list below my sig! HUGS and MERRY crafting, all!

Linking up with these fabulous challenge~
(I feel like sinks deserve to have holiday decorations, too! ;) )
21 comments:
Thanks for this great gift idea and tutorial. Something for me to consider for next years gifts!
This is amazing! Beautifully done, Mynn! Thanks for the inspiration :)
What a fab project !
Very cool
What a cool project and thanks for the tutorial. Thanks for stopping by to play with us at Mema's Crafts. Hope to see you next year and good luck in the draw. Happy holidays to you and your family.
awesome idea! thanks for joining us on Red Carpet Studio
This is so magical! And your directions are perfect, I could even make this! lol I love the rainbow glitter and it's "snow" nice to see your second entry at Opus Gluei! Thank you for playing along!
Great tutorial. Thanks for joining us at Mema's Crafts. PennyRae DT
Nice project! Thanks for playing along with Mema's Crafts.
What a CUTE project!!
What a cool project! It sounds so easy that I might try it with a bunch of jars my brother just brought. Thanks so much for sharing it over at Red Carpet Studios!
Angela
this is wonderful Mynn
Gr Karin
This is so much fun! Love your end result and your great instructions. I may just have to try this :)
super! quelle magnifique idée, biz
Oh WOW! this lovely and a great idea to use with the jars:) Thank you for joining us over at Decorate to Celebrate!!
Hugs,
Norma
How fun is this! What a great idea! thanks for joining us at Red Carpet Studio this week and hope to see you again. Tammy DT
Very cute Mynn! Have a great day!
Beautiful project. Thanks for playing at RCS.
What a clever project! Going to share this with my daughter who has a love of doing things like this! Thanks for playing along with us at RCS!
What an awesome project really different & pretty. Jacqui DT Bearly Mine
Such a great idea, I love it! Thank you for sharing it with us at Red Carpet Studio!
Post a Comment